Category

Documentation

Merge Shipping and Billing Contacts Into Documents At Runtime

By Documentation, General Solutions, S-Docs Cookbook No Comments

Introduction

Documents like invoices, packing slips, quotes, and contracts often need to include different points of contact for shipping and billing purposes. To accomplish this, S-Docs supports three different types of special contact merge fields in templates that use Opportunity or Account as their base object: Shipping contacts, billing contacts, and generic record contacts. When users generate documents that include at least one special contact merge field from one of these categories, they will be prompted to select one contact for each category included (shipping, billing, or record) whose information will be merged into the document. This article will explain how to use and configure these merge fields.

Include Shipping, Billing, & Record Contact Info

The following shipping, billing, and generic record contact merge fields can be included in your templates:

[code lang="html" highlight="1,9,17"]SHIPPING CONTACT MERGE FIELDS:
Shipping Contact Full Name: {{!PICKLIST.shippingContact.name}}
Shipping Contact First Name: {{!PICKLIST.shippingContact.firstname}}
Shipping Contact Last Name: {{!PICKLIST.shippingContact.lastname}}
Shipping Contact Email: {{!PICKLIST.shippingContact.email}}
Shipping Contact Phone: {{!PICKLIST.shippingContact.phone}}
Shipping Contact Title: {{!PICKLIST.shippingContact.title}}

BILLING CONTACT MERGE FIELDS:
Billing Contact Full Name: {{!PICKLIST.billingContact.name}}
Billing Contact First Name: {{!PICKLIST.billingContact.firstname}}
Billing Contact Last Name: {{!PICKLIST.billingContact.lastname}}
Billing Contact Email: {{!PICKLIST.billingContact.email}}
Billing Contact Phone: {{!PICKLIST.billingContact.phone}}
Billing Contact Title: {{!PICKLIST.billingContact.title}}

RECORD CONTACT MERGE FIELDS:
Record Contact Full Name: {{!PICKLIST.recordContact.name}}
Record Contact First Name: {{!PICKLIST.recordContact.firstname}}
Record Contact Last Name: {{!PICKLIST.recordContact.lastname}}
Record Contact Email: {{!PICKLIST.recordContact.email}}
Record Contact Phone: {{!PICKLIST.recordContact.phone}}
Record Contact Title: {{!PICKLIST.recordContact.title}}[/code]

Note: These merge fields can only be used in templates with the Related To Type field set to Opportunity or Account.

When users generate a document containing any of these special contact merge fields, they will be prompted to select contacts from a picklist before completing the document generation process. Fields from the chosen contact records will populate the corresponding merge fields in the document.

Note: These fields can also be used in signer profiles for S-Sign e-signature requests. Click here to learn more.

Let's take a look at this example Opportunity invoice template with shipping and billing sections.

We included three special contact merge fields for the shipping contact (highlighted in green) and three special contact merge fields for the billing contact (highlighted in blue). We also included two special contact merge fields for an alternative contact (highlighted in orange). When a user selects this template and clicks Next Step, they will be prompted with the following screen:

Since we included all three types of special contact merge fields, [1] one contact selection section appears for each type. To select a contact, users can [2] click the spyglass icon to look up any contact record available in their org. They can also [3] use the Contact Quick Pick to select from a list of all contacts related to the base record that the document was generated from. This list can be modified to include additional contacts as well; see configuration steps below.

Once a contact is selected for one of the contact types, their information will appear within that section.

[4] The shipping and billing contact selection sections also include the related account's shipping and billing addresses. Once all contacts have been selected, [5] clicking Generate Doc will complete the document generation process.

As you can see, the contact information was merged into the document:

Add Additional Contacts to the Contact Quick Pick

The Contact Quick Pick picklist allows users to easily choose any contact records related to the base record. You can also include contacts from additional objects, such as junction objects, within this picklist. This is configured at the template level.

To include additional objects, navigate to the template editor for the appropriate template, and then click over to the Advanced Options tab.

In the Advanced Options tab, scroll down to the Configure Contact Lookup section.

[1] The picklist lists each object whose contacts can be added to the Contact Quick Pick picklist. You can select multiple objects within this list. You can additionally extend objects with custom fields.

[2] If you would like to limit which contacts show up in this list, you can input a WHERE clause (omitting the WHERE) that dictates which contacts should appear in this list. Note that this query will affect the contact picker for special contact merge fields and the S-Docs Email page.

Access other fields not visible from the Insert Field Picker button

By Documentation, General Solutions, S-Docs Cookbook No Comments

In This Article:

  1. Use Dot Notation
  2. Discussion

Use Dot Notation

The Insert Field button in the template editor will allow you to easily insert fields from related objects. However, S-Docs can access related fields using standard “dot” notation that can reach fields up to 5 relationships removed if you manually edit the template source.

For example, you could include the following in your template:
[code lang="html"]{{!Opportunity.Account.ParentAccount.Owner.Name}}[/code]

Note: Due to Salesforce’s governor limits, S-Docs may not validate after the second “dot.” This means users will not receive any warning messages (during document creation) that a referenced field is invalid. If you find yourself needing to extend to this level, be sure to use the correct relationship name and notation. If you choose to map fields manually and do not correctly specify objects and fields, the user may receive a system error during document creation.

Discussion

If you find yourself needing to extend to a far removed field value, we recommend creating a formula field on the base object. In the example above, you could easily add a formula field on the Opportunity labeled PAowner_name__c and set its value to the field referenced above. Then, you could use this field in your S-Docs template.

Using S-Docs Direct SOQL Feature for Related List

By Documentation, General Solutions, S-Docs Cookbook No Comments

When Is Direct SOQL Useful?

The S-Docs Direct SOQL feature is a valuable option when your standard related list option still does not meet your requirements.

The following are use cases where Direct SOQL may useful:

  1. The related list you want to include is not related to (no linked relationships exist) your underlying record. The underlying record is the value in the "related to type" field on the template record. For example, if you wanted to include a related list of similar Accounts (perhaps in the same industry) in your Account document.
  2. You have more than 100 records in the related list that you want to merge into your document. Direct SOQL is able to work with more records before hitting any governor limits.
  3. You want your related list to refresh with the latest data every time the S-Doc is VIEWED from the S-Docs related list. This is a critical distinction, as the document can change over time without being regenerated. If you want a point-in-time snapshot, you should also use the “additionally save an attachment” feature.
  4. You want to use very specific or advanced SOQL statements that may include features such as aggregates.
  5. You want to include the same related object multiple times in your template but have each occurrence use a different filter criteria or display different columns. While you can use the groupby in the standard related list feature to break a table by a data column, you have more control with Direct SOQL.

Direct SOQL key differences

  1. Uses <LineItemsSOQL>  instead of <LineItems>.
  2. The <listname>  should be set to the object API name, not the relationship name. This means that you should use Opportunity, not Opportunities, or OpportunityLineItem not OpportunityLineItems, or for custom objects you should use CustomObj__c not CustomObj__r.
  3. Direct SOQL data is not saved with the S-Doc snapshot record. This means that each time the s-doc is viewed within Salesforce, it is regenerated and therefore it executes the query and retrieves the latest data. If you email your document or save it as an attachment, then that document is unaltered because it is saved as a physical PDF or Word file. However, if you click on the View button within the S-Docs related list, the related list data is queried again, and may have changed since the document was originally generated. Therefore, we strongly recommend you check auto create salesforce attachment in the template editor in order to keep a hard copy of your document.
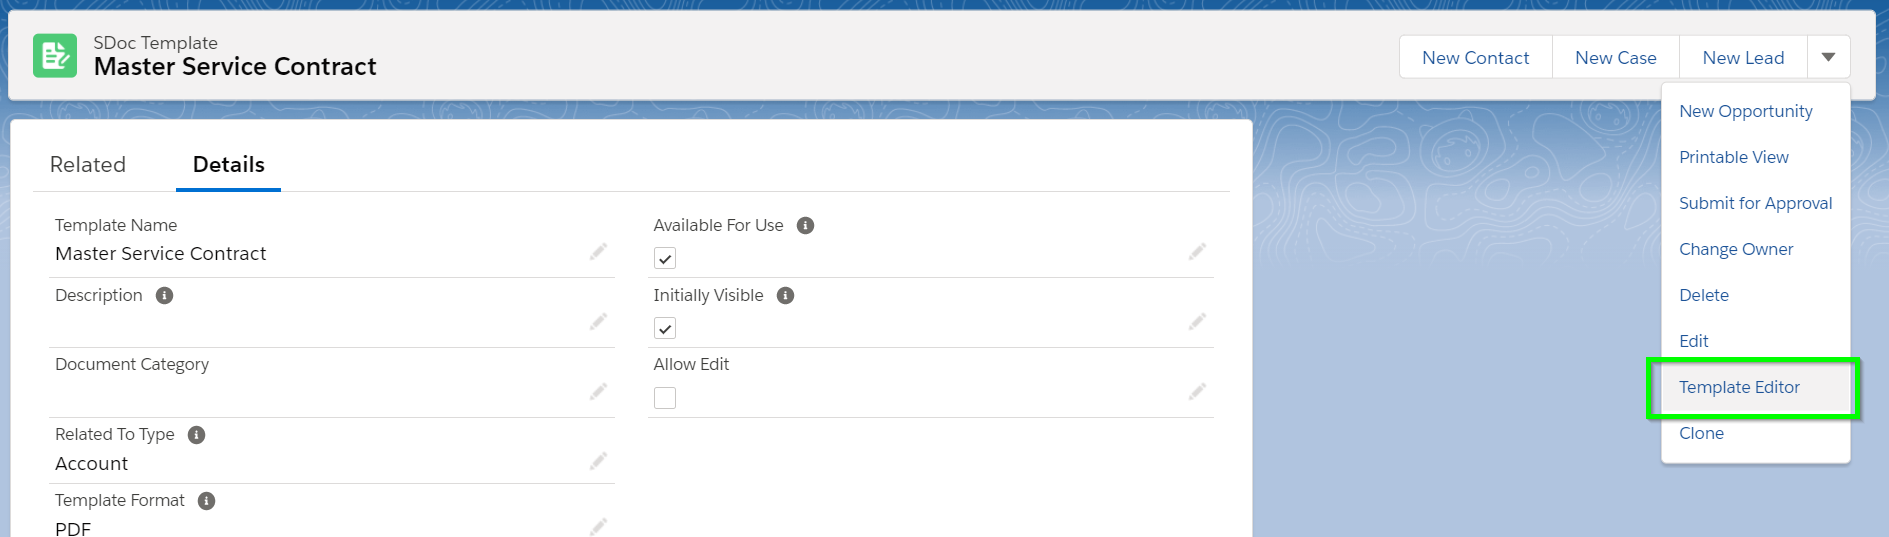
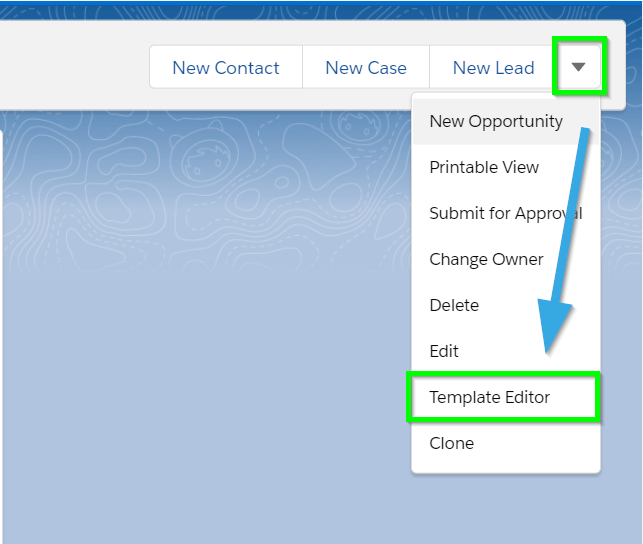
Using Direct SOQL

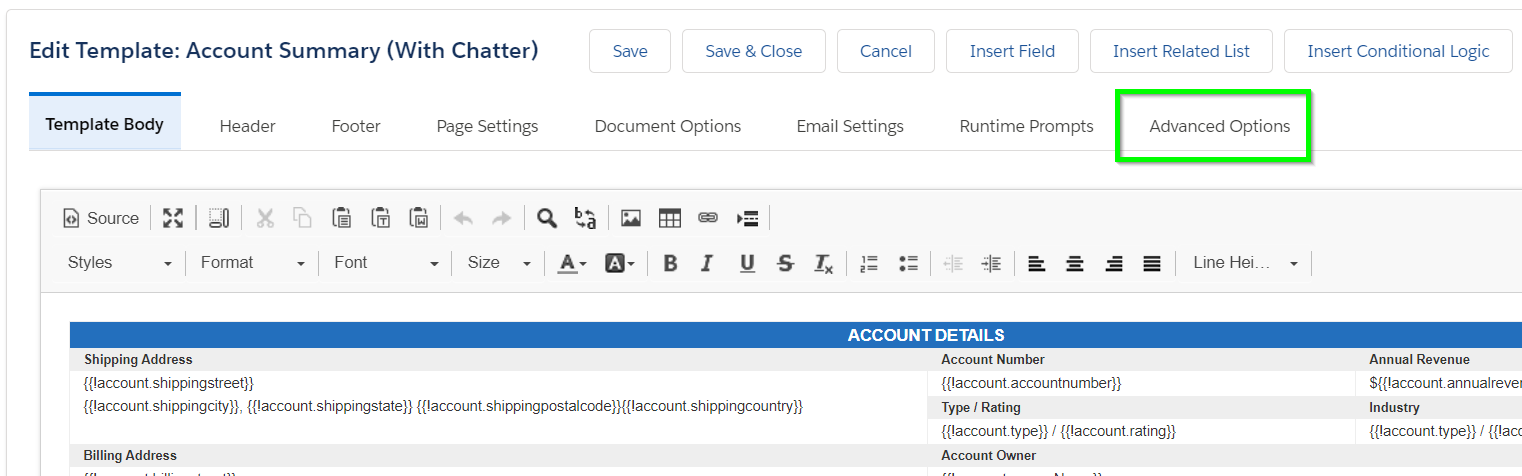
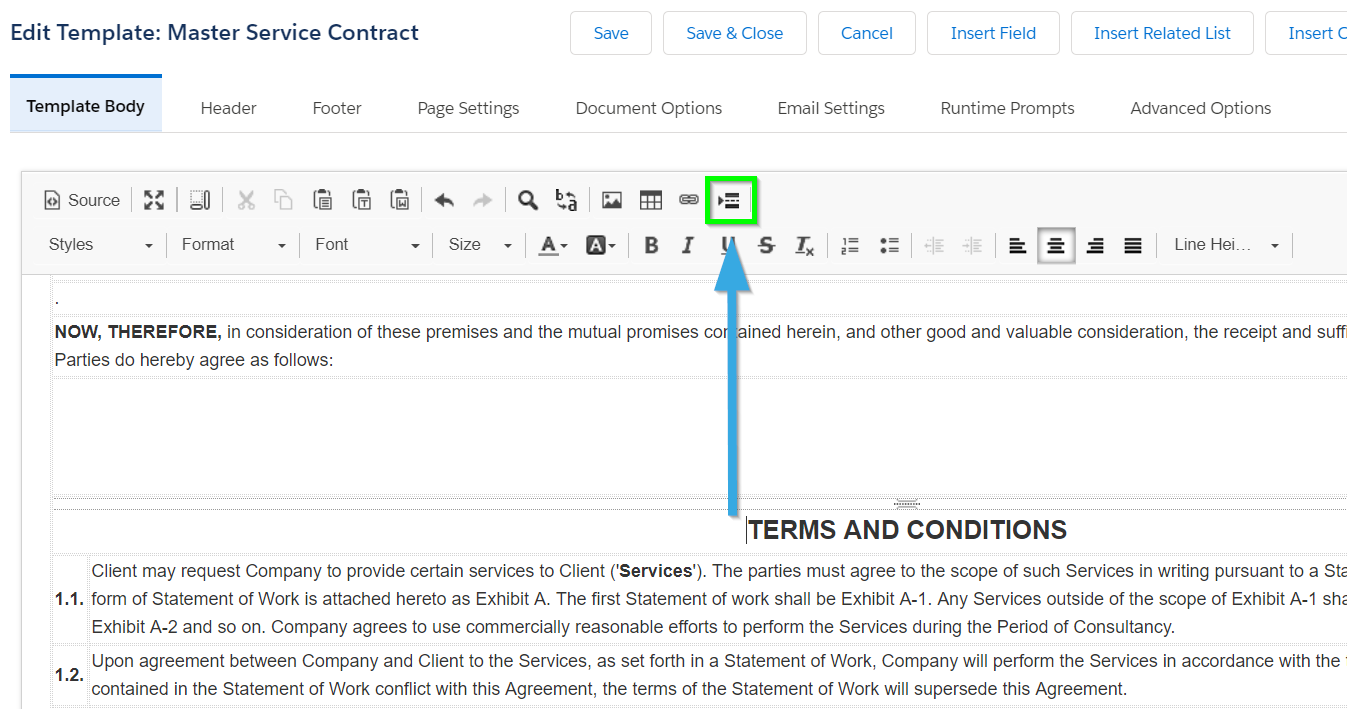
Open your template in the editor and then click on the Source button. You will need to add a section similar to the example below. Place it where you want the related list table of data to be inserted.

[code lang="html"]<table>
<tr><td>stage</td><td>name</td><td>Acct</td><td>amount</td></tr>
<!--{{! <LineItemsSOQL>
<class>table1</class>
<ListName>Opportunity</ListName>
<column>stagename</column>
<column>name</column>
<column>account.name</column>
<column format-number="##,###" prefix="$">amount</column>
<where>stagename in ('Prospecting','Closed') and amount>90000 </where>
<groupby>stagename</groupby>
<orderby>stagename, amount desc</orderby>
</LineItemsSOQL> }}-->
</table>[/code]
You can use this snippet above with any template because it runs as an independent SOQL query that returns the same data set regardless of the template used. The example above shows how you could select all opportunities that match a particular criteria (opportunity stage name and amount) and would include the retrieved records into a 4-column table within your document.

In this example, the query runs irrespective of your base record (that you used to generate the S-Doc from) or whether your base record is linked to these opportunities returned in the query or not. The SOQL query also runs under the users permissions and therefore does not violate any sharing rules.

If you want to limit the related list items to only those records linked to your specific record, then you would need to expand the  <where> condition and specify that those line items have a lookup value equal to your specific record ID. For example, if you want to include only opportunities linked to your account record you would need to include a condition to filter Opportunity.AccountID value equal to your record Account.ID. Obviously, there needs to be some linked relationship field for this to work. To do this in the template, you need to specifically use the syntax '{!ObjectID}' that is dynamically replacing the record's Salesforce ID value. In our example, you would add the following: <where>AccountId='{!ObjectID15}'</where>

Advanced SOQL

If you want even more control, you can type the exact SOQL statement you want executed by adding a <SOQL>  tag.

Adding the following into your template source (this example assumes your base object is opportunity) will sum your quantity and totals per product and return just one line by leveraging SOQL aggregate functionality to remove duplicates. You will note how the <SOQL>  statement is used with an alias, and then matched to the columns.
[code lang="html"]<table border="0" class="table1" width="100%">
<tbody>
<tr>
<td class="table1header">
Product</td>
<td class="table1header">
Quantity</td>
<td align="right" class="table1header">
Total Price</td>
</tr>
<!--{{! <LineItemsSOQL>
<class>table1</class>
<ListName>quotelineitem</ListName>
<soql>Select PricebookEntry.product2.name, sum(o.TotalPrice)tp, sum(o.Quantity)tq, o.PricebookEntryId From OpportunityLineItem o where opportunityid='{{!ObjectID15}}' group by pricebookentryid, PricebookEntry.product2.name</soql>
<column>Name</column>
<column format-number="#,###" prefix="$">tq</column>
<column format-number="#,###.##" prefix="$">tp</column>
</LineItemsSOQL> }}-->
</tbody>
</table>[/code]
The results from the SOQL query will be matched to the column names. Here we used aliases tp and tq that mapped to columns. You don't need to map all columns. If you use this option, you need to correctly create the SOQL query to include required where, group by and order by syntax.

If you want to display data without the table formatting, you can specify <class>none</class>. This will remove all table, row and cell formatting and will return just the data. Here is an example that will return just names delimited by a comma.
[code lang="html"]<td> Account Team Members:
<!--{{! <LineItemsSOQL>
<class>none</class>
<soql>
select user.name from accountteammember where accountid='{{!account.id}}'
</soql>
<column postfix=", ">user.name</column>
</LineItemsSOQL> }}-->
</td>[/code]
However, consider the event in which the SOQL query returns no records for a certain document; we wouldn’t want “The Account Team Members are:” to be displayed when there aren’t any account team members! To solve this, we can use the prefix and postfix tags. Text placed between these tags will not render if no SOQL queries are returned. Use prefix tags for text that precedes the SOQL queries, and use postfix tags for text that follows the SOQL queries. Consider the following simple example:
[code lang="html"]<!--{{! <LineItemsSOQL>
<prefix>The Account Team Members are: </prefix>
<class>none</class>
<soql>
SELECT user.name FROM accountteammember WHERE accountid='{{!account.id}}'
</soql>
<column postfix=", ">user.name</column>
<postfix>. Please see page 3 for their contact information.</postfix>
</lineitemsSOQL> }}-->[/code]
Now, consider the following use case: we would like to prompt users to take note of a tracking number after a shipping confirmation. However, if they do not have a tracking number, we do not want to tell them to take note of a non-existent tracking number:
[code lang="html"]<p>Your order has been shipped.</p>
<!--{{! <LineItemsSOQL>
<class>none</class>
<prefix>
<p><span style="font-family:arial,helvetica,sans-serif;">
Please take note of your tracking number:
</prefix>
<soql>SELECT (SELECT id FROM opportunitylineitems WHERE PricebookEntry.Product2.productcode like '%ITG' limit 1)
FROM opportunity WHERE id='{{!ObjectID15}}' AND id IN (SELECT opportunityid FROM opportunitylineitem WHERE opportunityid='{{!ObjectID15}}' AND PricebookEntry.Product2.productcode like '%ITL') LIMIT 1
</soql>
<column prefix="<span style='display:none'>" postfix="</span>">sub.opportunitylineitems.id</column>
<postfix>
. Please use our order-tracking service to track your order.</p><p><span style="font-family:arial,helvetica,sans-serif;">
</span>
</p>
</postfix>
</LineItemsSOQL> }}-->
<p>Thank you for your business.</p>[/code]
In the above template, the customer will see “Your order has been shipped” and “Thank you for your business” even if they don’t have a tracking number, since these are entirely outside the LineItemsSOQL tags. “Please take note of your tracking number:” will appear before the tracking number and “Please visit our order-tracking website to track your order” will appear after the tracking number if the customer has a tracking number, and these two statements will not appear if the customer does not have a tracking number.

We also see that the text between the postfix tag begins with a period and a space, and ends with a closing paragraph tag but does not begin with one. This is because the opening paragraph tag is at the very beginning of the prefix. This means that the prefix, SOQL return statement, and the postfix will all appear in the same paragraph. Then, since the postfix begins with a period and a space, there will be a period and a space between the tracking number and “Please visit our order-tracking website to track your order,” since they are in the same paragraph. Thus, if the tracking number is 098726928, the resulting document will appear like so:

Your order has been shipped.
Please take note of the following tracking number: 098726928. Please use our order-tracking service to track your order.
Thank you for your business.

Similarly, if there is no tracking number, the resulting document will be:

Your order has been shipped.
Thank you for your business.

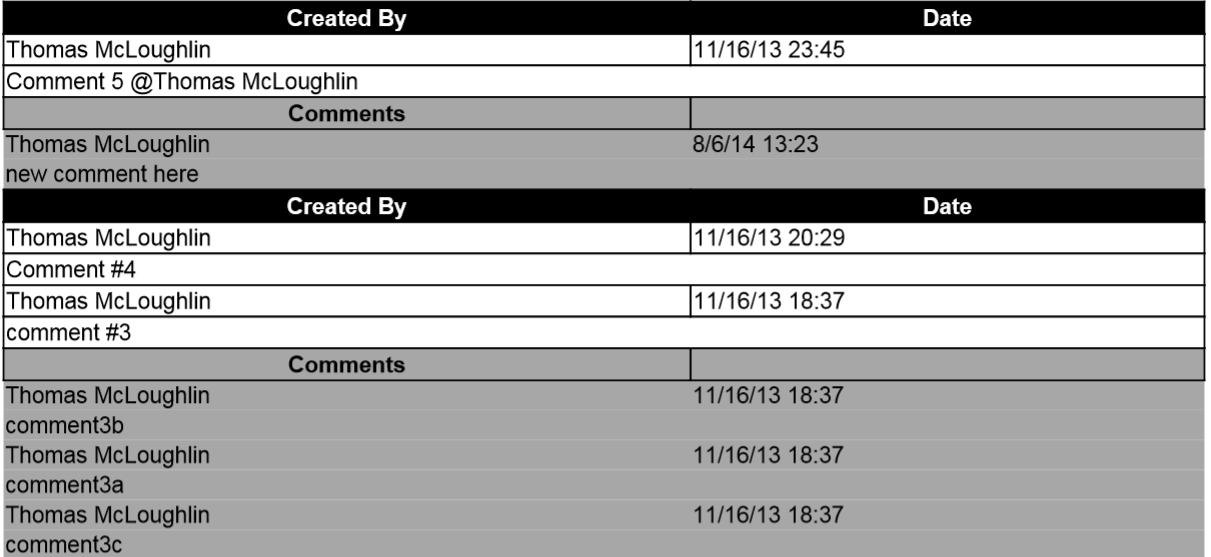
S-Docs also supports complex SOQL statements with sub-queries. You can include a related list of child record, along with its child records. You do this by including a standard SOQL subquery, and a column name that begin with “sub.” to indicate sub query data. Note that only one sub query is allowed here. Additionally, subquery items need to appear after all parent columns are processed; the capability to insert them in between parent columns is not supported. Here is an example that selects the chatter feed for a record along with the feed comments for each chatter record:
[code lang="html"]<table align="left" class="table641">
<tbody><!--{{!
<lineitemsSOQL><class>table641</class>
<listname>feeds</listname>
<soql>
SELECT createdby.name, Body, createddate,
(SELECT createdby.name, createddate,CommentBody FROM FeedComments)
FROM FeedItem WHERE ParentId = '{{!ObjectID15}}'
ORDER BY createddate desc</soql>
<column header="Created By">createdby.name</column>
<column header="Date" format-date="M/d/yy HH:mm">createdDate</column>
<column newrow="true" colspan="2" type="rtf">body</column>
<column header="Comments">sub.FeedComments.createdby.name</column>
<column header="" format-date="M/d/yy HH:mm"> sub.FeedComments.createdDate</column>
<column newrow="true" colspan="2">sub.FeedComments.CommentBody</column>
</lineitemsSOQL>
}}-->
</tbody>
</table>[/code]
The output below shows each chatter feed record (white background), along with the feed comments (subquery records with gray background).

table-sdocs

Final note: All SOQL runs as the running user. This prevents any user from viewing any information that they are not entitled to through Salesforce permissions (object level, record level and field level).

Filtering, sorting and grouping your related list

By Documentation, General Solutions, S-Docs Cookbook No Comments

Table Styling Options

There are many advanced features you can leverage to enhance how your related list items are rendered.

To use these, you would need to edit your template source. The example below shows a combination of advanced features including:

  • Leverage CSS to control table styles such as borders, alternate background colors on rows, and change width and alignment text within columns.
  • Format numbers and add prefixes to column values.
  • Use a <where> clause to filter records, and <limit> to control set size.
  • Use <orderby> to sort by particular column(s).
  • Use <groupby> to “break” the table for different sets of values.
  • Use <groupbyheader> to specify repeating column names.
  • Use <groupbysum> to insert running subtotals of each group.

[code lang="html"]<style type="text/css">
table.table1 {border:solid black 1px;border-collapse: collapse;border-spacing:0px;font-family: verdana; font-size: 10pt; width:100% }
.table1header {text-align:center;font-weight:bold;border:solid black 1px;}
.table1footer {text-align:right;font-weight:bold;border:solid black 0px;}
.table1col0 {font-weight:bold;text-align:left; border:solid black 1px;}
.table1col1 {text-align:left; width:20%;border:solid black 1px;}
.table1col2{text-align:left; width:40%;border:solid black 1px;}
.table1col3{text-align:right;width:10%;border:solid black 1px;}
.table1col4,.table1col5{text-align:right;width:15%;border:solid black 1px;}
.table1RowEven{ background-color:#fff; }
.table1RowOdd{ background-color:#eee; }
</style>
... your template HTML here...
<table class="table1">
<!--{{!
<LineItems>
<class>table1</class>
<ListName>opportunitylineitems</ListName>
<column>PricebookEntry.Product2.family</column>
<column>PricebookEntry.name</column>
<column>PricebookEntry.product2id</column>
<column format-number="#,###" postfix="/Per Unit">quantity</column>
<column format-number="#.###,##" postfix="€">unitprice</column>
<column format-number="#,###.##" prefix="$">totalprice</column>
<where>PricebookEntry.name != null</where>
<orderby>PricebookEntry.Product2.family</orderby>
<groupby type="newtable">PricebookEntry.Product2.family</groupby>
<groupbyheader position="after-group">Product Name,Product Description,Qty,Unit Price,Total Price</groupbyheader>
<groupbysum position="footer" format-number="#,###" prefix=" Subtotal $">totalprice</groupbysum>
<limit>100</limit>
</LineItems>
}}-->
</table>[/code]

Using Components

If you need to format your related list data in an entirely new way (e.g. structure it in any way you like outside of a table), you can also include a template component that formats your data and then merges it into your final document. Click here to read more about this feature.

Add line items (related lists) to your documents

By Documentation, General Solutions, S-Docs Cookbook No Comments

Use The "Insert Related List" Button

Child or related records will appear as line items in a table within your document. Since there can be zero or more child records associated to a parent record, it would not be feasible to map a child field to just one parent field. Therefore, S-Docs renders child records as rows in a table. You can control the columns displayed, or add multiple child tables to one document. The simplest way to add a related list is to use the Insert Related List button on the template editor page (for instructions on how to use this button, click here). Using this feature will allow you to easily select the related objects and columns. If needed, you can then edit the table header and styles using the template editor.

Edit The Source Code of Your Related List Table

For even greater control, you can also edit the template source code. Editing the template source will give you total control of styles and will permit you to drill down into one extra level of relationships if needed. Therefore, you can reach fields up to 4 levels removed from the base object. If fields are still further than this, consider using a formula field to make the value available to your document.

If you edit the template source for custom objects, be sure to use the correct “child relationship name” in between the ListName tags (e.g. <ListName>myRelatedObject__r</ListName>). This name does not always match the object name, as Salesforce can automatically change this value to avoid collisions, so be sure to verify this value from the custom field definition page within Salesforce.

Example: Template Source for Opportunity Line Items

In the template editor, click on the Source button, and then place the following snippet into a <table> element. You should create the first header row with column header values. Then place the LineItems tag as shown below as you would normally use a <tr> element.  When rendered, this code will be represented as a table rows <tr> within the table, and include the related list field values that you specified for columns.

The following snippet will render as a <tr> element. It should therefore be placed within your <table> element:

[code lang="html"]<!--{{! <LineItems>
<class>style8</class>
<ListName>OpportunityLineItems</ListName>
<column>PriceBookEntry.product2.Name</column>
<column>PriceBookEntry.product2.Description</column>
<column>UnitPrice</column>
<column>Quantity</column>
<column>TotalPrice</column>
</LineItems> }}-->[/code]
Be sure to include the HTML comment tags (<!-- and -->) exactly as shown in the snippet above. While the line items won’t appear on the template editors WYSIWYG view, they will render when the document is generated.

Note: Since S-Docs is a Native Force.com app, it is subject to Salesforce’s governor limits. The complexity of your objects will determine the maximum number of related lists and the maximum number of line items that you can include in your document before reaching these limits. We are continually working on improving this limit. For more information visit http://www.salesforce.com/us/developer/docs/apexcode/Content/apex_gov_limits.htm.

Change page size and orientation (landscape, legal, mailing label)

By Documentation, General Solutions, S-Docs Cookbook No Comments

Change Page Size & Orientation Using The Template Editor

To edit the dimensions and orientation of your document, navigate to the Page Settings tab in the Template Editor. There, you will find options to adjust page width, height, and margins.

Edit Page Width & Height

The page width and height settings are located on the left side of the Page Settings tab. You can choose from predefined Portrait or Landscape page layouts, which will lock the Width and Height fields, or choose Custom to edit the Width and Height fields yourself.

Edit Page Margins

The page margin settings are located on the right side of the Page Settings tab.

Edit Units Of Measurement

The Unit of Measurement settings are located on the left side of the Page Settings tab. You can choose inches, centimeters, or pixels as your unit of measurement. Choosing a new unit of measurement will automatically update all other values on this tab.

Use your own stylesheet or CSS

By Documentation, General Solutions, S-Docs Cookbook No Comments

Edit The Template Source

To add your own stylesheet or CSS to your S-Docs templates, you can edit the source of your templates. All you need to do is click on the Source button in the top left of the template editor. You can then copy your own <style></style> tags at the start of the page (be sure to use all lowercase and close your tags). In-line styles also work great and can be used throughout your template.

Discussion

Not all styles, fonts and borders render precisely in all output formats, especially PDFs. At this time, you cannot include a separate CSS file; however, you can create a separate template with a separate CSS style and insert it into your current template as a merge field. In addition, the S-Docs package does include one stylesheet file as a static resource that you can leverage.

Append Terms and Conditions To Your Contract

By Documentation, General Solutions, S-Docs Cookbook No Comments

Introduction

S-Docs allows you to easily create and append a terms and conditions page (or equivalent) to your documents using the template editor. Simply open the template detail record, click the dropdown arrow on the right, and then click on the Template Editor button.

Terms And Conditions Options

Next, add your terms and conditions in the editor field where you would like them to appear in your template. If you want to display varying terms and conditions (e.g. based on territory or product) for otherwise similar documents, you can leverage the S-Docs Render feature to add conditional logic to show/hide blocks of text. You can additionally create a separate template for your terms and conditions and insert it into this one as a merge field. This option is useful because it allows you to keep your terms and conditions in one centralized place; if you ever need to edit them, you only need to edit them once, and the changes would be reflected in all documents.

Improve Terms And Conditions Appearance

To improve how terms and conditions are rendered within your document, a page break is useful and can be easily inserted in your template by placing the cursor at the beginning of your terms section and then clicking on the page break icon (last button on the top row of the of the template editor toolbar).

Saving S-Docs As Salesforce Attachments Or Files

By Documentation, General Solutions, S-Docs Cookbook No Comments

Using The S-Docs Create Salesforce Attachment / Create Salesforce File Settings

By default, S-Docs are saved as Salesforce Attachments in the Notes & Attachments related list on your base object record each time you generate a document. To change this setting, all you have to do is open up the template editor for the template(s) you wish to edit, then open up the Document Options tab.

You can configure attachment and file settings under the Attachment & File Options section.

Create Salesforce Attachment and link to record is checked by default. This option creates Salesforce Attachments in addition to the S-Doc record each time this template is generated going forward. Checking this option again after it has been unchecked will not create attachments for previously created documents.

You can also opt to create Salesforce Files each time this template is generated. For more information on Attachment and File Options, please view the Document Options section of the Template Editor Overview.

Querying Attachments or Files Created By S-Docs

You may need to query just the Salesforce Attachments or Files that are generated by S-Docs. This can be accomplished using the Description field on the ContentVersion object. Whenever S-Docs creates a Salesforce Attachment or File, the Description field on ContentVersion is populated with the record ID of the corresponding S-Doc record (SDOC__SDoc__c).

This can be useful if, for example, you have a required custom field on the ContentVersion object. To avoid errors when S-Docs creates a Salesforce Attachment or File, you can create a trigger that populates that custom field on any Salesforce Attachment or File that S-Docs creates.

The following trigger will populate the custom required ContentVersion field Required__c for Salesforce Attachments or Files created by S-Docs:

[code lang="html"]trigger SDocsContentVersionTrigger on ContentVersion (before insert) {
for (ContentVersion cv : trigger.new) {
try {
*/ Whenever S-Docs creates a ContentVersion record related to an SDOC__SDoc__c record,
it sets the SDOC__SDoc__c record ID as the ContentVersion Description. Hence we can
check for this to determine if the ContentVersion was created by S-Docs. */
Boolean createdBySDocs = ('' + Id.valueOf(cv.Description).getSObjectType()) == 'SDOC__SDoc__c';
if (createdBySDocs) {
cv.Required__c = 'Other';
}
} catch (Exception e) {}
}
}[/code]

Attachment Discussion

There are advantages and disadvantages to using Salesforce Attachments. On one hand, attachments are more permanent, faster to view, and can be exported for archiving or for legal/compliance purposes. Attachments also aren't affected by future template changes, whereas regular S-Docs use the template record each time they are viewed.

On the other hand, the attachment record itself cannot be easily related to multiple records (you should leverage the S-Docs Relationship for this) and attachments can consume a significant amount of file storage space within Salesforce. You also cannot easily report on data located within an attachment. S-Docs lets you choose whether you want to enable attachments or not on a per-template basis. We typically recommend you keep this feature enabled.

Link one document to many objects

By Documentation, General Solutions, S-Docs Cookbook No Comments

The S-Doc Relationship Object

You can relate many records to the same S-Doc by leveraging the SDoc_Relationship__c junction object.

By default, one S-Doc record can be simultaneously related to up to 9 distinct standard Salesforce objects (Account, Asset, Case, Contact, Contract, Lead, Opportunity, Product and Solution). This can be easily expanded to more standard objects (e.g. Campaign) and custom objects by adding a lookup field to the SDoc_Relationship__c object. However, if a user wants to relate one S-Doc to multiple records of the same object type (e.g. one S-Docs Contract to two Salesforce Accounts), the user simply clicks on the New SDoc Relationship button from the S-Doc related list on the record and then relates it to the S-Doc. One additional SDoc_Relationship__c record is needed for each record of the same object type you want to relate to the same S-Doc.

You may also notice that the comments field and status field are conveniently located on the SDocs_Relationship object. S-Docs will automatically synchronize these fields among all relationships that point to the same generated document. For example, if you update the status of a Contract that is related to two different Accounts, the status will be consistent across all views.

The SDoc relationship junction object provides more power and flexibility in relating S-Docs to your Salesforce objects rather than just linking them directly.

The Additional Relationship Field

When a document is first generated, one S-Doc relationship record is automatically created and linked to the base object (the object that the template's Related To Type field is set to). In Salesforce Classic, you can also choose an additional object to automatically link documents to by setting the template's Additional Relationship field to the additional object.

Note: This functionality is not available in Salesforce Lightning. Click here for more information.

The Additional Relationship field needs to be a related object field on the template's base object. For example, you can relate a document to an Opportunity and an Account (as an Additional Relationship) because there is an Account lookup field on the Opportunity record. Likewise, you can link an S-Docs to a Contact and the Account, since there is an Account lookup field on Contact. However, you could not, for example, automatically link an S-Docs to an Account (base object) and an Opportunity (Additional Relationship) because this is a one-to-many relationship.

Note: If you don't see this field, simply modify your page layout for the SDoc Template object and add the Additional Relationships field. 

To edit the SDoc Template page layout in Salesforce Classic, navigate to an S-Docs template record and click Edit Layout.

Navigate to the Fields tab in the layout editor, find the Additional Relationships field, and drag it into the SDoc Template Detail section.

Top