Optimize your team’s daily operations by creating templates that can be used over and over again. Now, it’s easier than ever to create templates in S-Docs using the Template Editor.
In this section, you will learn how to:
- Create a new template using the S-Docs Template Editor.
- Add dynamic fields to your template.
If you are not on the S-Docs homepage, follow the instructions in Introducing S-Docs.
- From the Available Templates card, launch Manage Templates using the link.
- The following screen will appear:

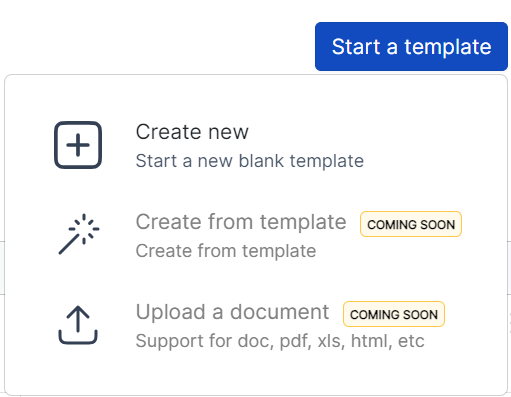
Click Start a template.
You may have several default templates ready for use out of the box from
S-Docs. In this example, we will create a new Quote template.
3. From the drop-down menu, click Create new.
4. The template editor will open and display a blank canvas:
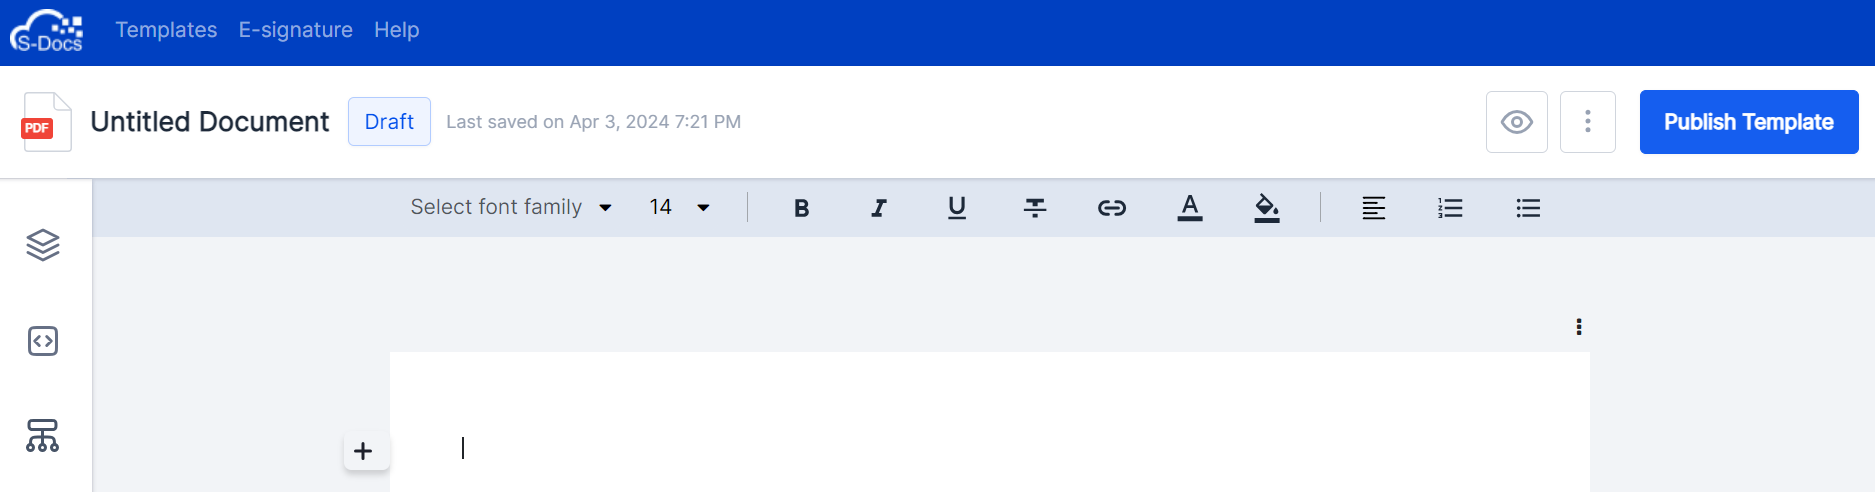
This editor is very similar to other text editors in use.
For more information on how to use the text editor, click here.
Now, we will enter dynamic variables.
Setting up the data source
You must select a data source to use any dynamic field in your template.
There are two methods to select a data source.
- The first is using the Variables section found on the left-hand side of the interface. Once you have a data source selected, you can drag-and-drop the field into the Template Editor.
- The second is using the @ symbol anywhere inside the Template Editor.
Both methods are shown in this example.
Using the Variables icon to add a data source:
To use the Variables icon:
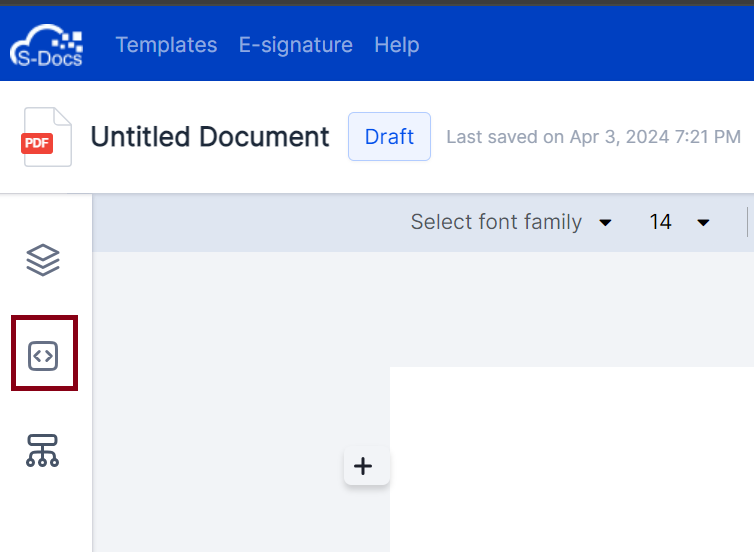
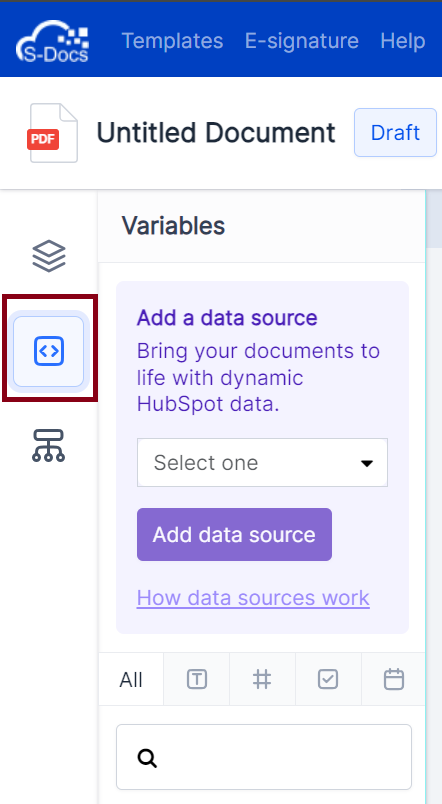
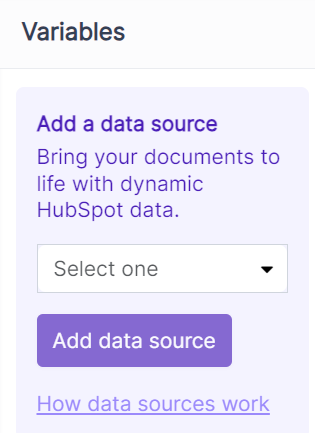
- Click the Variables icon. The following text box will open.
- Click Select one from the dropdown menu:
- Choose a data source from Company or Deal. In this example, we will choose Company.
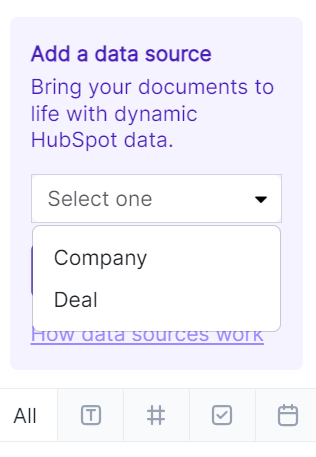
- Click Add data source.

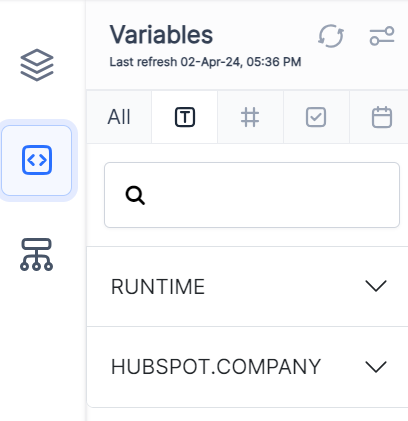
- The list of variables below are automatically refreshed:
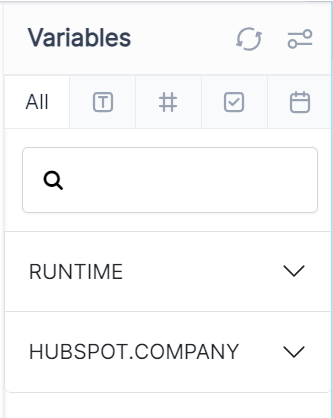
You now have access to the runtime variable fields, and the HubSpot.Company fields for the template. Add the fields you need to the Template Editor using the drag-and-drop function.
Using the @ symbol to add a data source
To add a data source using the @ symbol, you must be in a new template.
From the S-Docs home page, click Templates, then Start a Template.
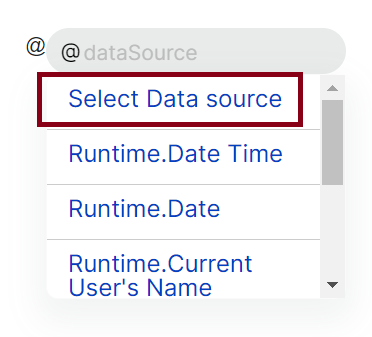
1. Click within the template and type @. The following menu opens:
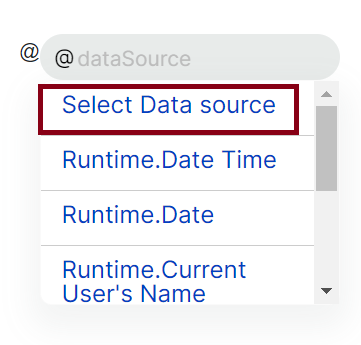
2. Click Select Data source from the list. The Variables menu opens:
3. Click Select one and choose your data source from Company or Deal.
4. Click Add data source. In this example, choose Deal.
The list of variables below are automatically refreshed:

You now have access to the Runtime fields, HubSpot.Deal, HubSpot. Contact, and the HubSpot.Company fields for the template. Add the fields you need to the Template Editor using the drag-and-drop function.
When you're ready you can preview your template anytime by following these instructions.
Changing the data source
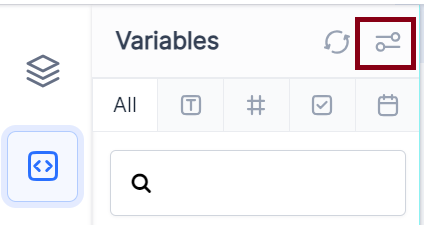
You can only use one data source at a time. You can change from one data source to another by using the filter icon located at the top of the Variables menu.
This filter is only visible once you have selected a data source for the Template Editor.
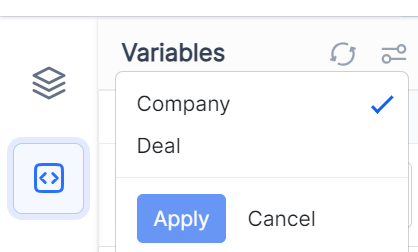
To change a data source:
1. Click the filter icon. Choose the new data source and click Apply.
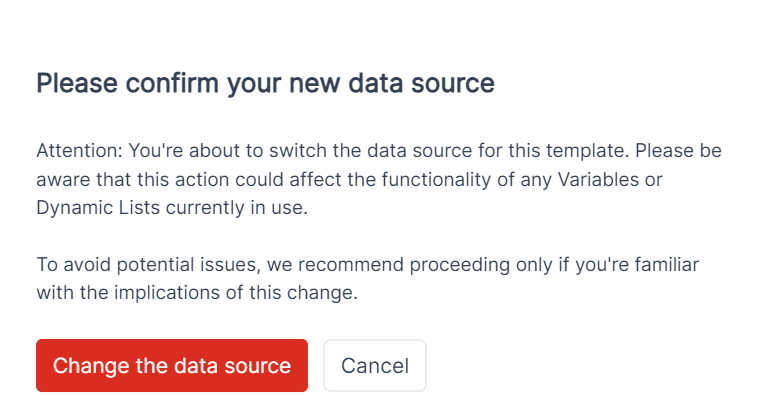
2. You will be asked to Confirm the data source. Click Change the data source if you are certain.
Now, we will insert the fields from the Variables icon into the Template Editor.
To merge data into your template:
You’ll first need to place the fields inside the template to enter dynamic information into the Template Editor. There are two ways to do this:
- Using the Tiles icon and the drag-and-drop function.
- Using the Variables icon and using the drag-and-drop function, or the @ symbol.
To use the Tiles icon and the drag-and-drop function:
- From the left-hand side menu, click the Tiles icon.
2. The Tiled icon opens a dropdown list of blocks:
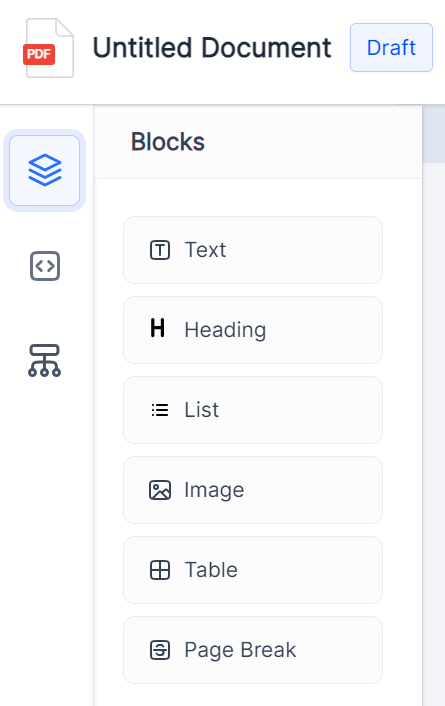
Drag and drop the blocks you wish to insert into the template from the tiled icon menu.
The variables and fields will be entered next to these texts in the next section.
To use the Variables icon and the drag-and-drop function:
- From the left-hand side menu, click the Variables icon:

- Choose Company or Deal and click Add data source. For this example, I will choose Company.
The following becomes available:
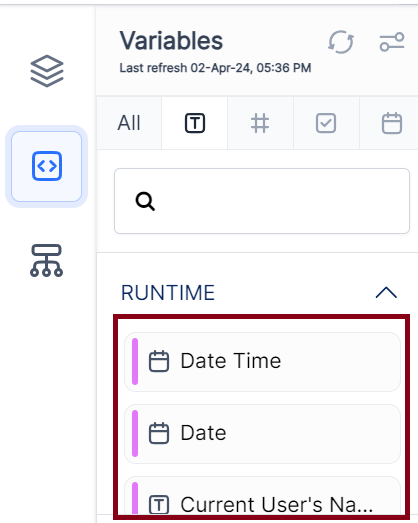
- Choose the dropdown menu in RUNTIME or HubSpot.Company and select a variable to enter in the template. In this example, we’ll choose RUNTIME. You have access to the following variables in RUNTIME:
- Select a variable and drag and drop it into the Template Editor. For example, choose Date and drag and drop it next to the text box Date: in the Template Editor.
You will see a faint blue line appear to align the variable:

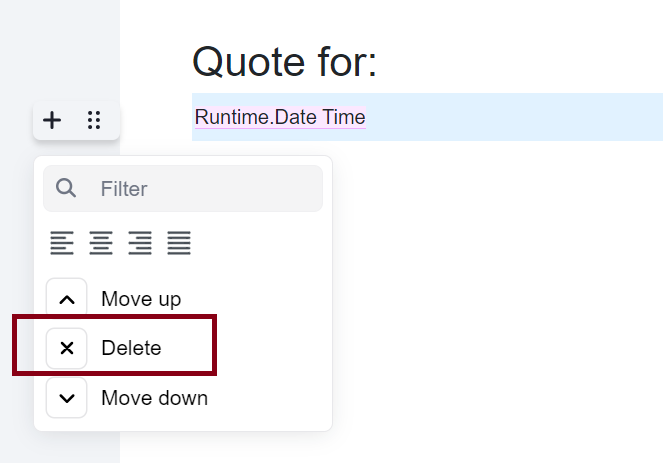
If you choose the incorrect variable, click it. Then click the dotted icon contextual menu to the left-hand side:

Delete the variable using the Delete function:
You will have to confirm Click to Delete.
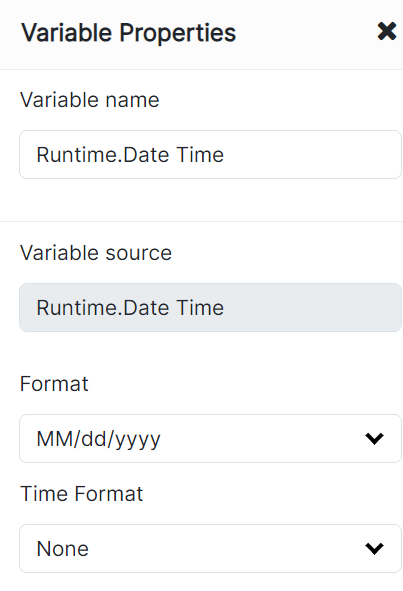
You can modify the variable using this menu for this instance.
Using the @ symbol to enter variables
You can also enter a variable or a field by typing the @ symbol keyboard shortcut if you prefer.
Now, let’s create the template.
- Name your template.
- Manually type in the words “Quote” replacing Untitled Document in the upper left-hand side of the interface.
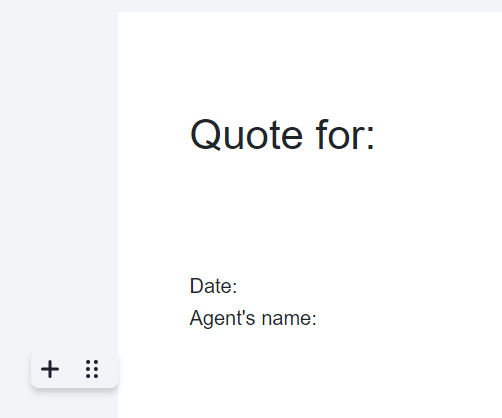
- Add a Heading block to the template, and add, Quote for:
Then add a Text box using the + from context menu and add, Date: and, Name:

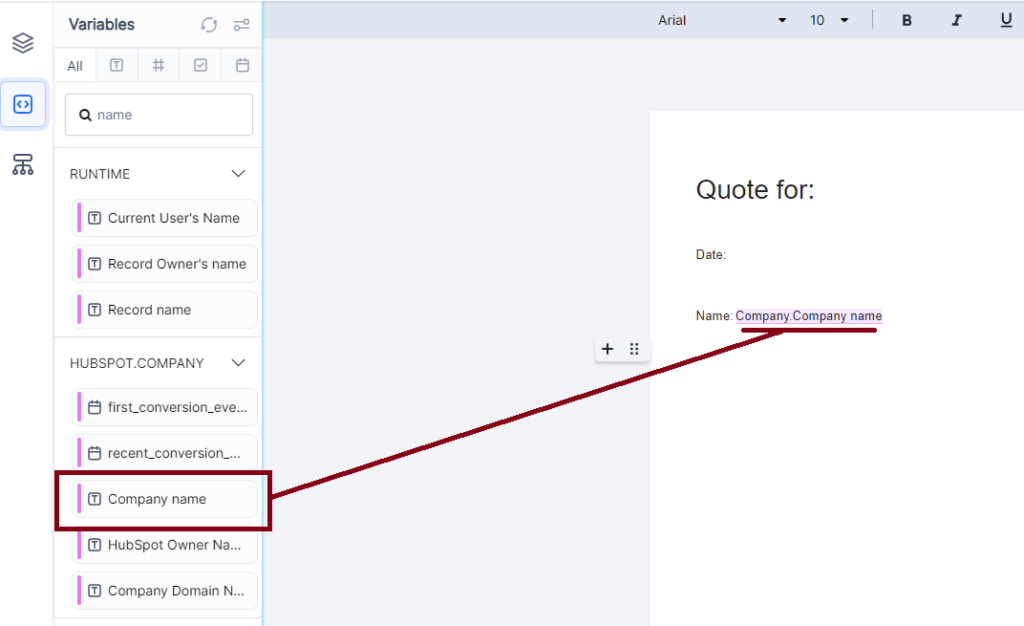
Now we will add the variable for the Company’s name:
4. From the Search bar, type Name.
Scroll down to find the Company name variable.
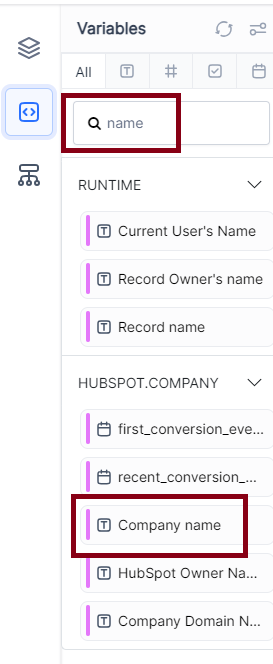
Drag the variable to the template.
If you prefer to use the @ symbol, a contextual menu opens with the available variables:
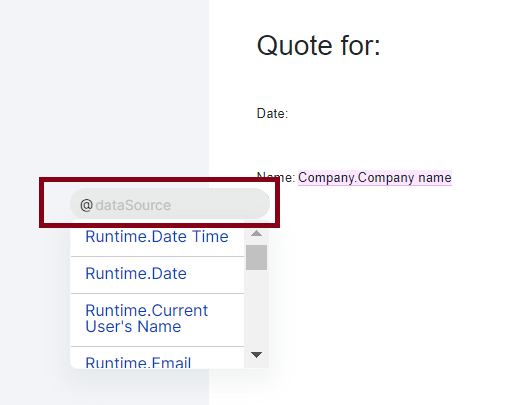
Type in the field you are searching for next to the @symbol. Scroll down to the variable you are searching for.
For example, type @name. Scroll to find Company.Company name.
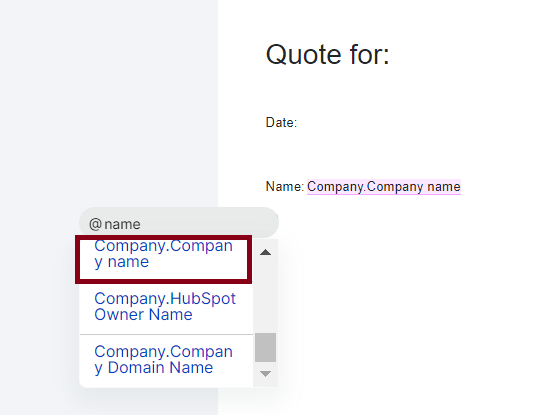
Select this variable.
It will be entered into the template where you type the @ symbol.