Introduction
This article will teach you how to apply digital signatures to S-Sign PDFs with your Common Access Card (CAC). For instructions on configuring S-Docs and S-Sign to work with your CAC, click here.
Signing Documents With Your CAC
Digitally signing documents with your CAC is a simple process of completing an S-Sign e-signature request, downloading the document & adding your CAC signature, and then uploading the document back to Salesforce.
Step 1: Send & Submit An S-Sign E-Signature Request
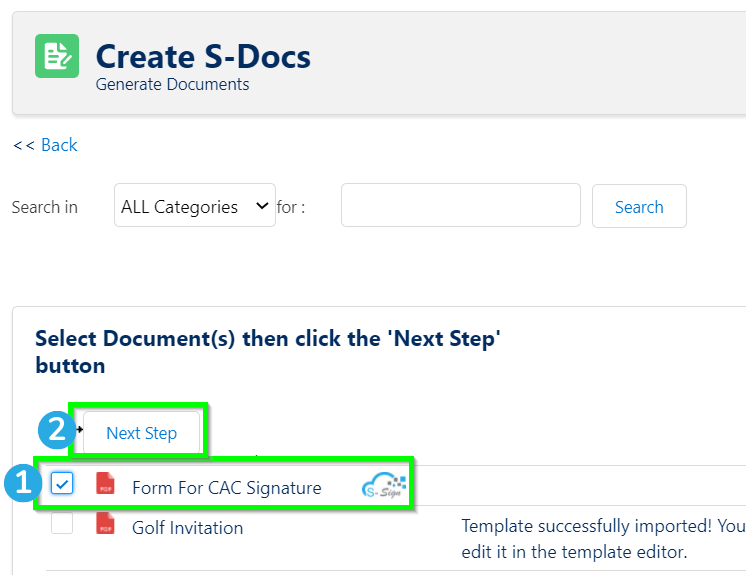
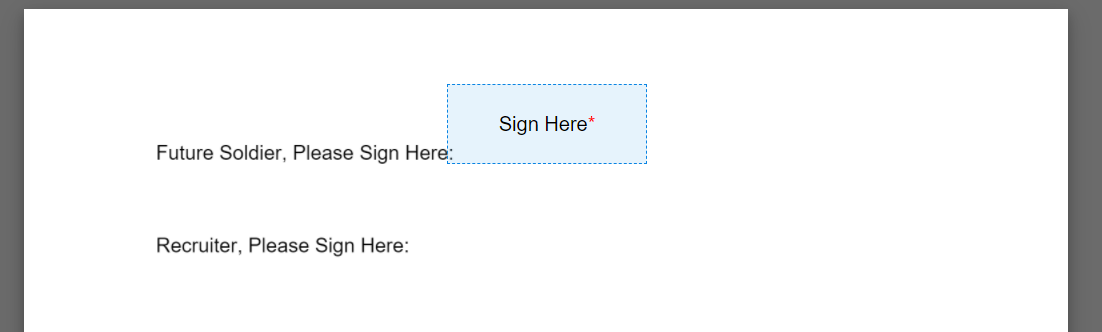
The process begins with a regular S-Sign e-signature request. For example, a future soldier and a recruiter may need to sign a document, with the recruiter required to digitally sign using a CAC. Begin by navigating to the appropriate record and click the S-Docs button.

Select the document(s) you want digitally signed and click Next Step.
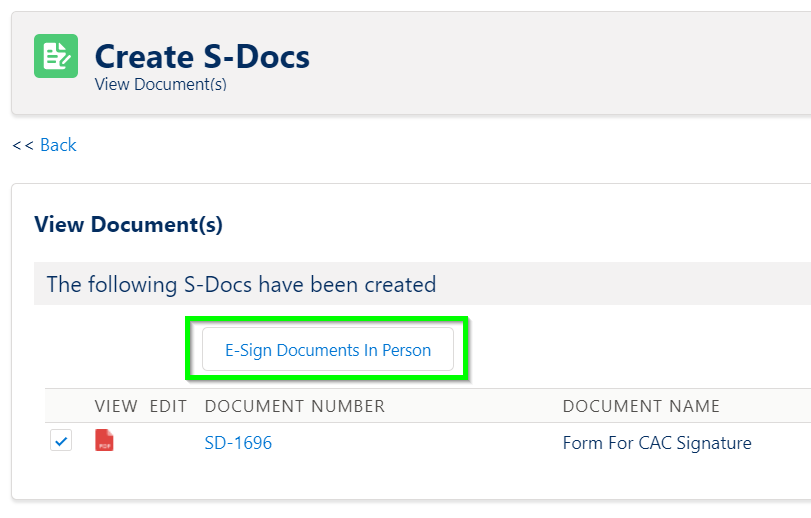
Once your document(s) is generated, click the button above the document(s) to initiate the e-signature process. In this example, we're assuming all signers are in the same room, but you can also include signers via email.
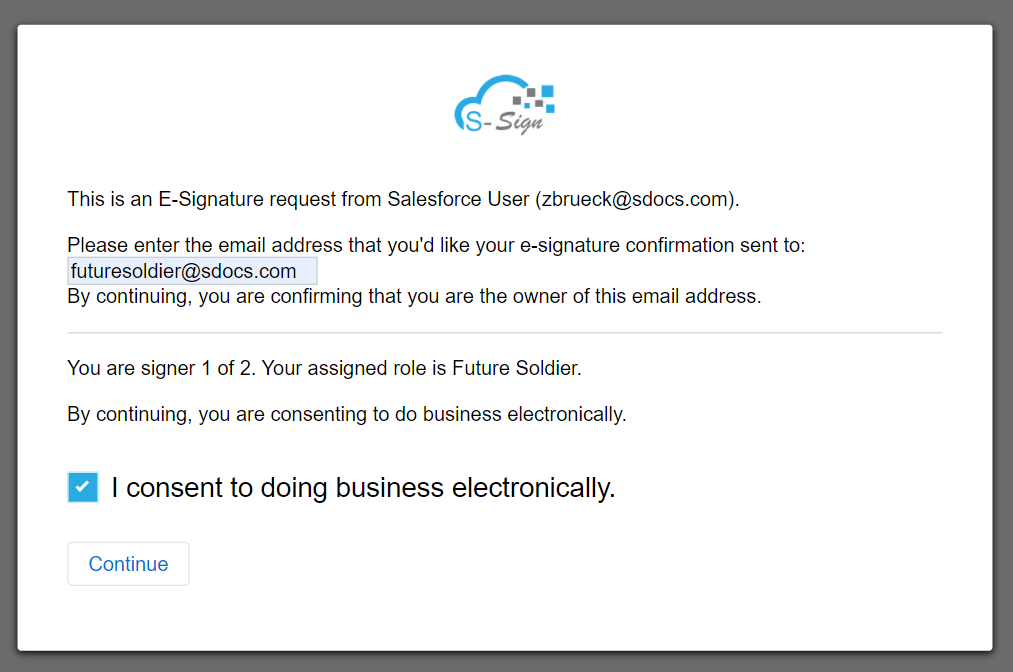
Each signer is required to check I consent to doing business electronically to access the document. You can also require 2-factor authentication and customize the verbiage on this screen if desired.
Once the document is opened, signers can click Sign Here to input their signatures.
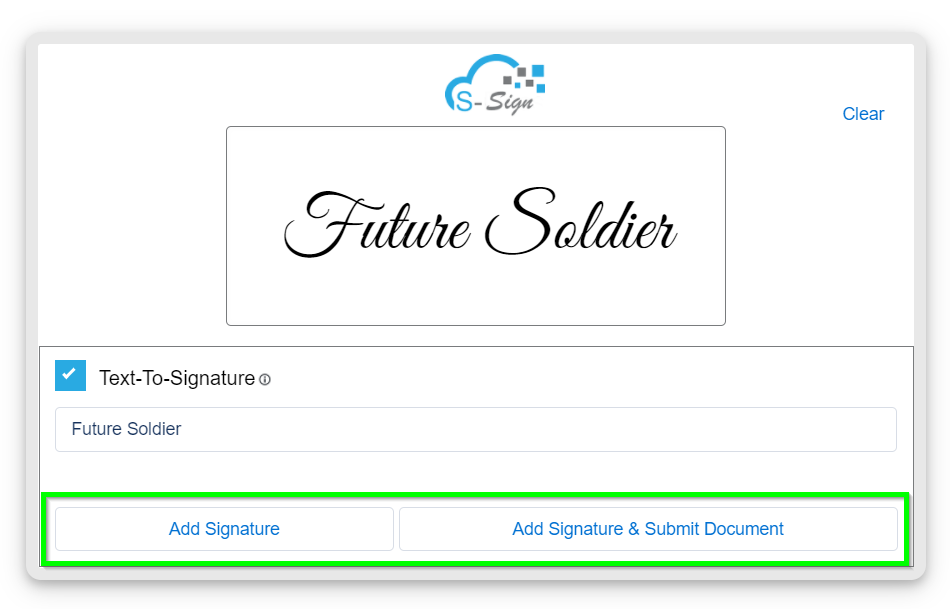
Signers can type or draw their signature, then submit the document or move on to other inputs if required.
Step 2: Download Document & Digitally Sign With CAC
Once the final signer submits the document, the CAC download/upload page will be automatically opened (if you've opted to use this feature). Click Download.
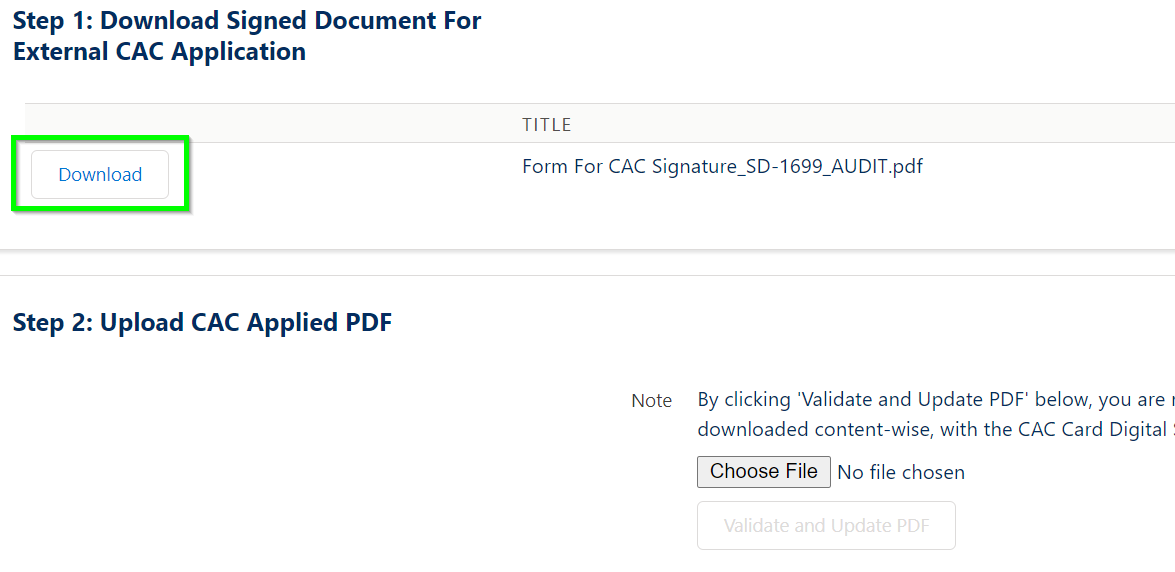
The document will be downloaded to your local device. Open the PDF with Adobe Acrobat.
[1] Click Certificates, then [2] click Digitally Sign, and [3] select where you'd like your digital signature to appear.

At this point, you can insert your CAC into the card reader and digitally sign the document.
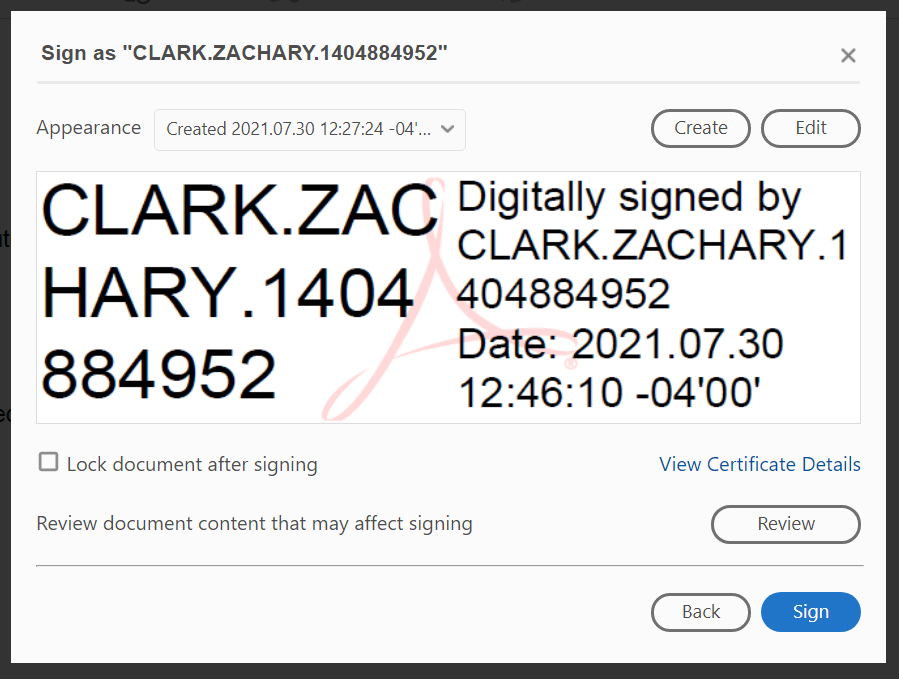
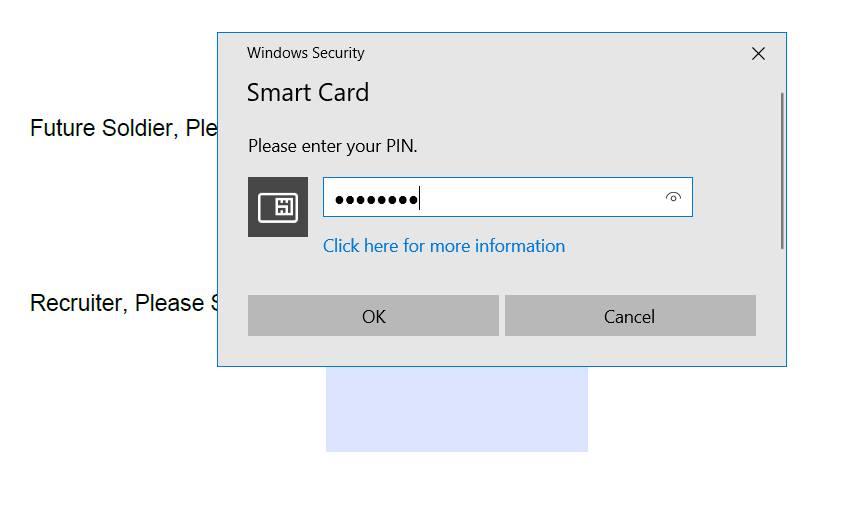
Enter your CAC PIN to complete the digital signature process.
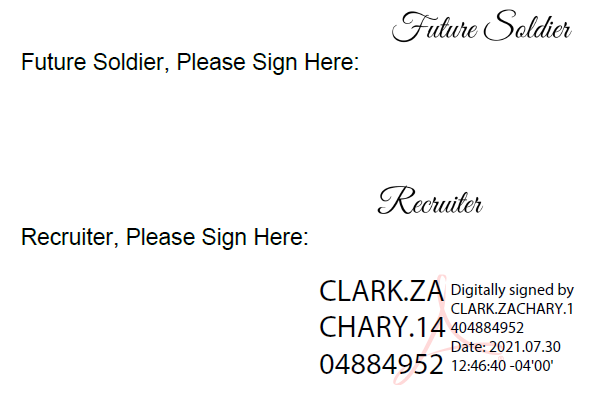
Your CAC signature will appear on the document, along with the S-Sign signatures.
Step 3: Upload Signed Document To Salesforce
Navigate back to the CAC download/upload page, click Choose File, and select your digitally signed document. Then, click Validate and Upload PDF to upload your document to Salesforce.
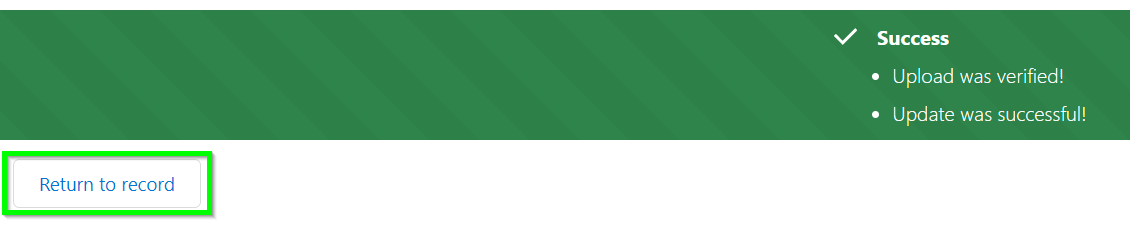
A success message will appear when the document is uploaded successfully. You can then click Return to Record to confirm that the document is stored there.
The document will be stored in the Notes & Attachments related list as well as the S-Sign Envelope. It will include the S-Sign e-signatures as well as the CAC signature.
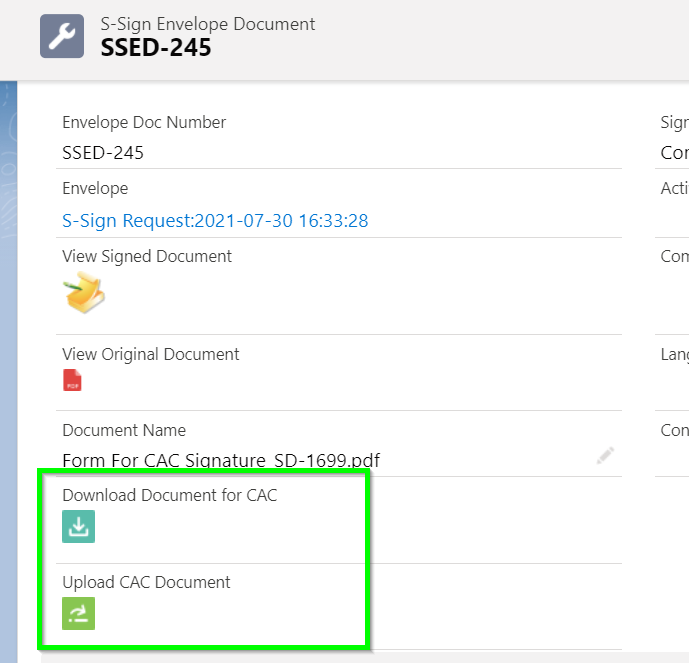
Download/Upload Documents From S-Sign Envelope Document Record
If you don't want to redirect final signers to the CAC download/upload page after document submission (as described in the "Add The CAC Redirect URL To Your Templates" section of the CAC Configuration article), you can leave the Redirect Signer to Page field in your template(s) blank and instead download/upload the document from the S-Sign Envelope Document record.
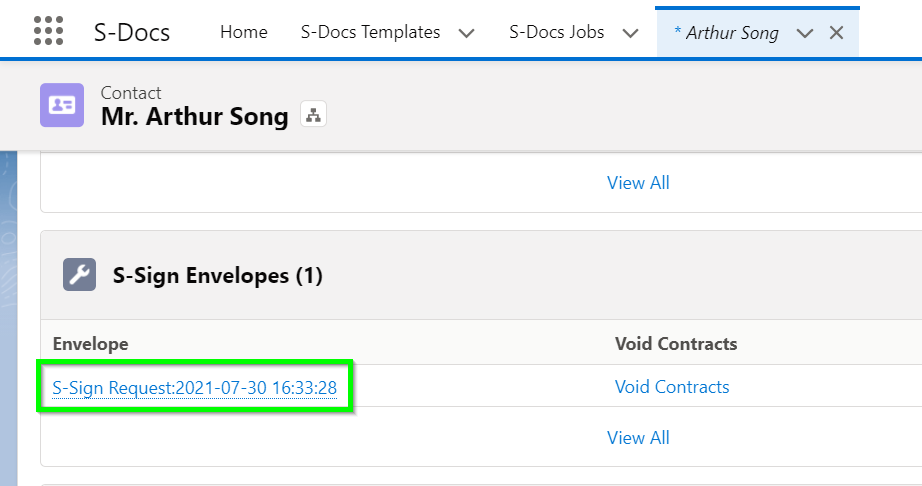
After an S-Sign request has been completed, navigate to the base record and open the S-Sign Envelope record that is linked there.
Click the Related tab, and then click the Doc Number to navigate to the S-Sign Envelope Document record.

From there, you can use the links to download the document, sign it with your CAC, and reupload it to Salesforce.