In This Article:
Introduction
If you need your clients to sign documents in person, S-Sign has you covered.
Before you begin, make sure you've configured S-Sign and created your S-Sign enabled template. If your documents aren't going to be signed in person, click here to learn how to use S-Sign with email.
Generate An In-Person S-Sign Request
Start by navigating to your object record and clicking the S-Docs button.

Select the document you wish to be signed and click Next Step.
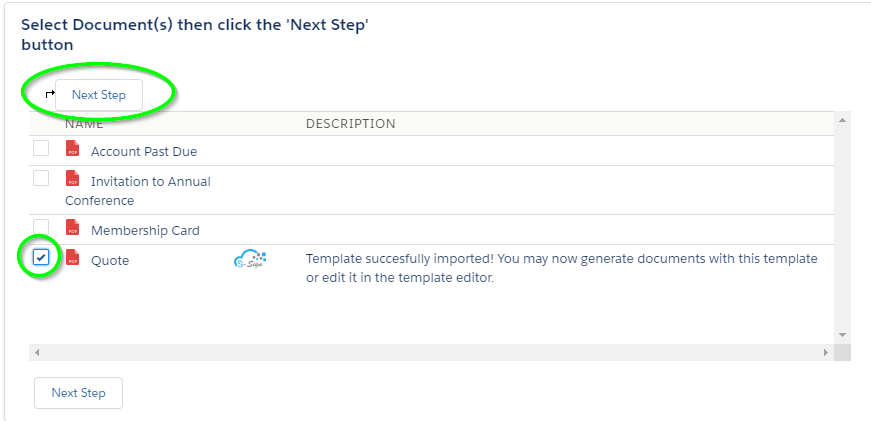
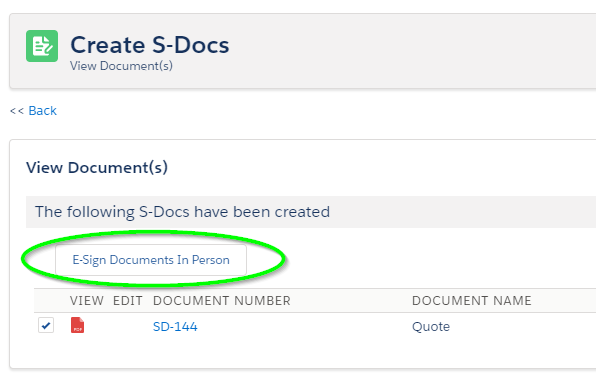
Since you only selected a PDF template, an E-Sign Documents In Person button will appear in place of the email button. Click this button to proceed.
What The Signer Sees
After clicking "E-Sign Documents In Person," you will be redirected to the email verification page. The signer of the document will be required to enter a verification code before proceeding. This 6-digit code will be sent to them once they enter their email address.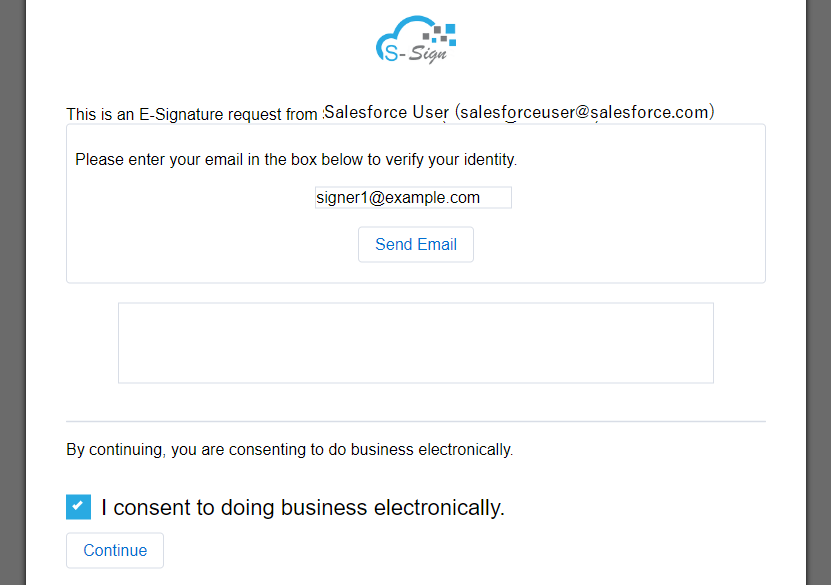

After clicking Continue, the document will be displayed. The signer can then fill in all of the inputs required by clicking on the text boxes/check boxes or clicking Next Input and Previous Input to move between them.
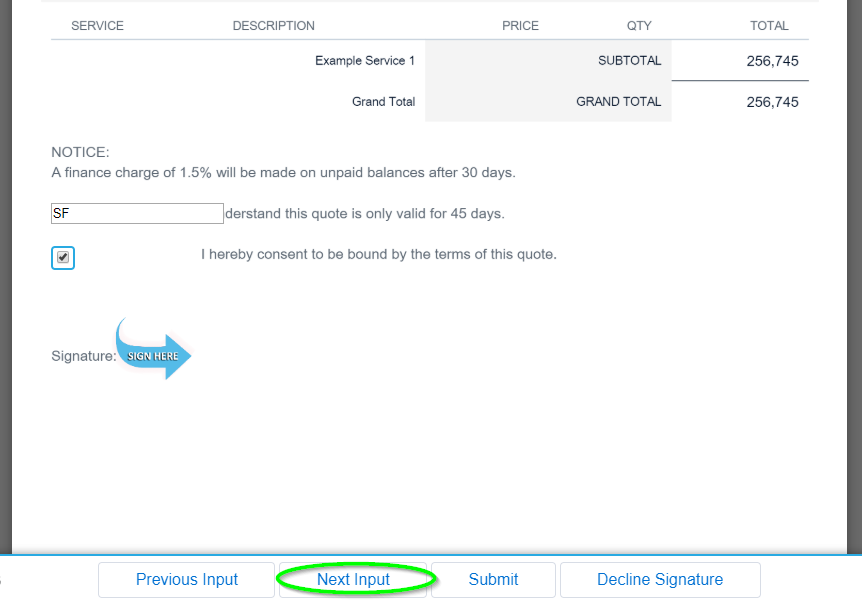
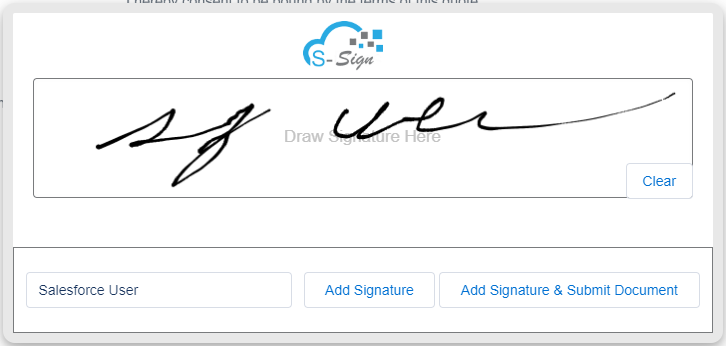
The signature pad will open for the signature input. The signer can then draw their signature and type their name, then click Add Signature.
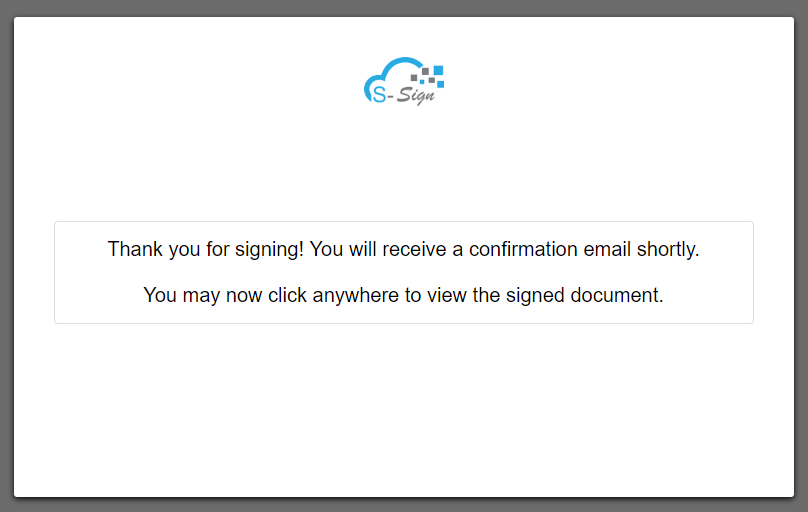
The signer can then review the document once more and click Submit when they are finished. The following screen will appear. The signer can click anywhere to view the signed document.
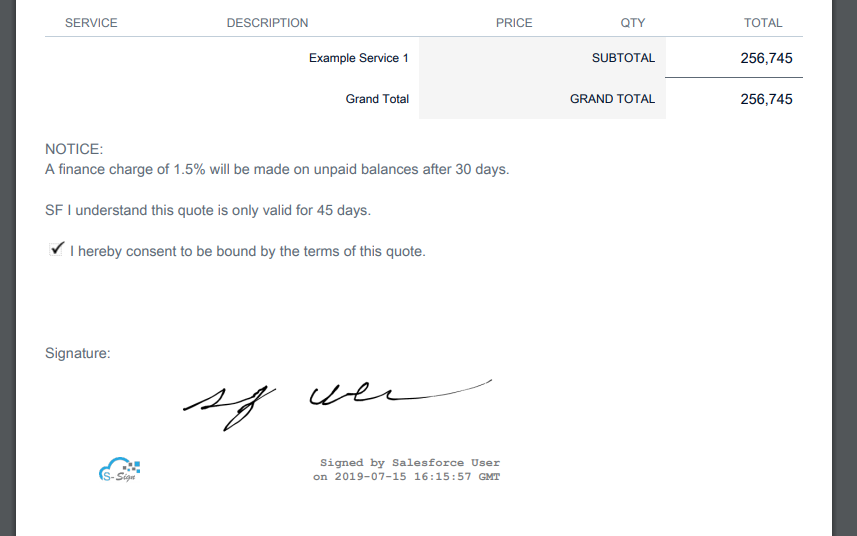
The final document will be displayed will all of the inputs filled in, the signer's signature merged into the signature area, and a date/time stamp.
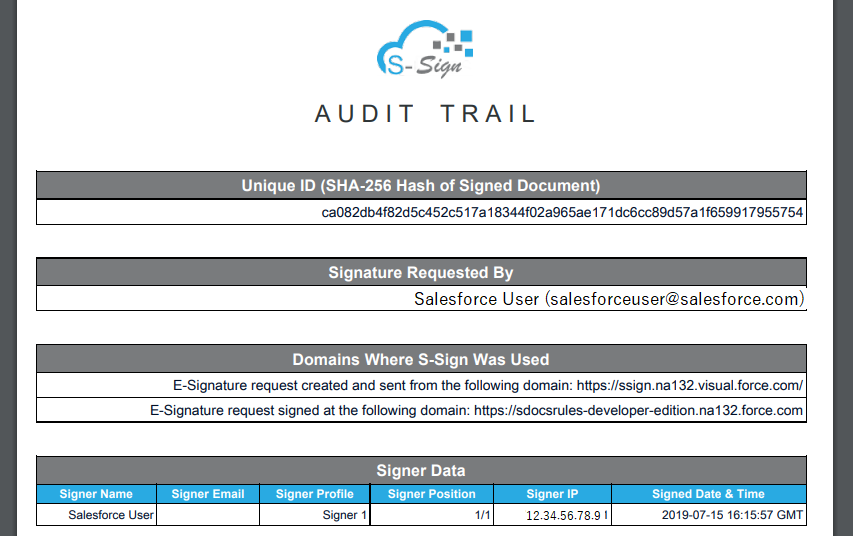
The signer can also scroll down to view the document's audit trail.
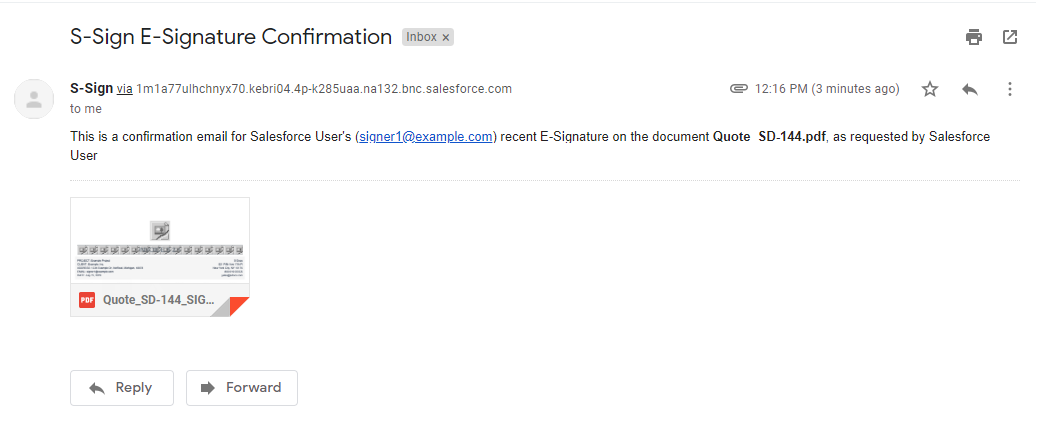
In addition, the signer will receive a confirmation email with the signed document attached for their records.
That's all there is to it!